

Q&A: Is there a way I can start seeds without any special equipment?

Are you itching to DO SOMETHING in the garden this January, but don’t have the indoor setup to start seeds? Good news: You can still get a head start on seed starting with a simple, nature-inspired method called winter sowing. It’s easy, affordable, and perfectly in tune with the rhythms of the season.
What is Winter Sowing?
Imagine this: You’re planting seeds in mini-greenhouses made from everyday items like milk jugs or clear plastic containers. These little homes sit outside all winter, letting nature take the lead. The seeds experience the chill and thaw of the season, which helps them germinate when the time is right. It’s like giving your garden a head start while letting Mother Nature do most of the work.
Why Winter Sowing Works
Winter sowing is more than just an easy way to start seeds; it’s a mindful gardening practice that aligns with nature’s rhythms. Here’s why it’s fantastic:
Cost-Effective: No need for grow lights, heat mats, or fancy trays.
Space-Saving: Keep your windowsills and counters clutter-free. The seeds can germinate right out in your garden beds.
Natural Adaptation: Your seedlings grow stronger by adapting to the elements, reducing transplant shock.
Eco-Friendly: Repurpose containers and reduce waste.
What to Plant?
Winter sowing works best with plants that thrive in cooler conditions or require cold stratification to germinate. Here are some categories and examples of seeds that are perfect for this method:


1. Perennials
Many perennials need a period of cold to break dormancy, making winter sowing ideal. Examples include:
Echinacea (Coneflower)
Lupine
Black-eyed Susan
Milkweed
2. Plants Requiring Cold Stratification
These plants naturally germinate after a cold period, which winter sowing simulates:
Lavender
Columbine
Delphinium
Butterfly Weed
3. Cool-Season Veggie Crops
Cool-season vegetables that can handle frost and thrive in early spring do well with winter sowing:
Kale
Spinach
Lettuce
Broccoli
Brussels Sprouts
4. Hardy Annual Flowers
Annual flowers that prefer cooler weather and can withstand light frosts:
Sweet Alyssum
Poppies
Bachelor Buttons
Calendula
Snapdragons
How to Start Winter Sowing
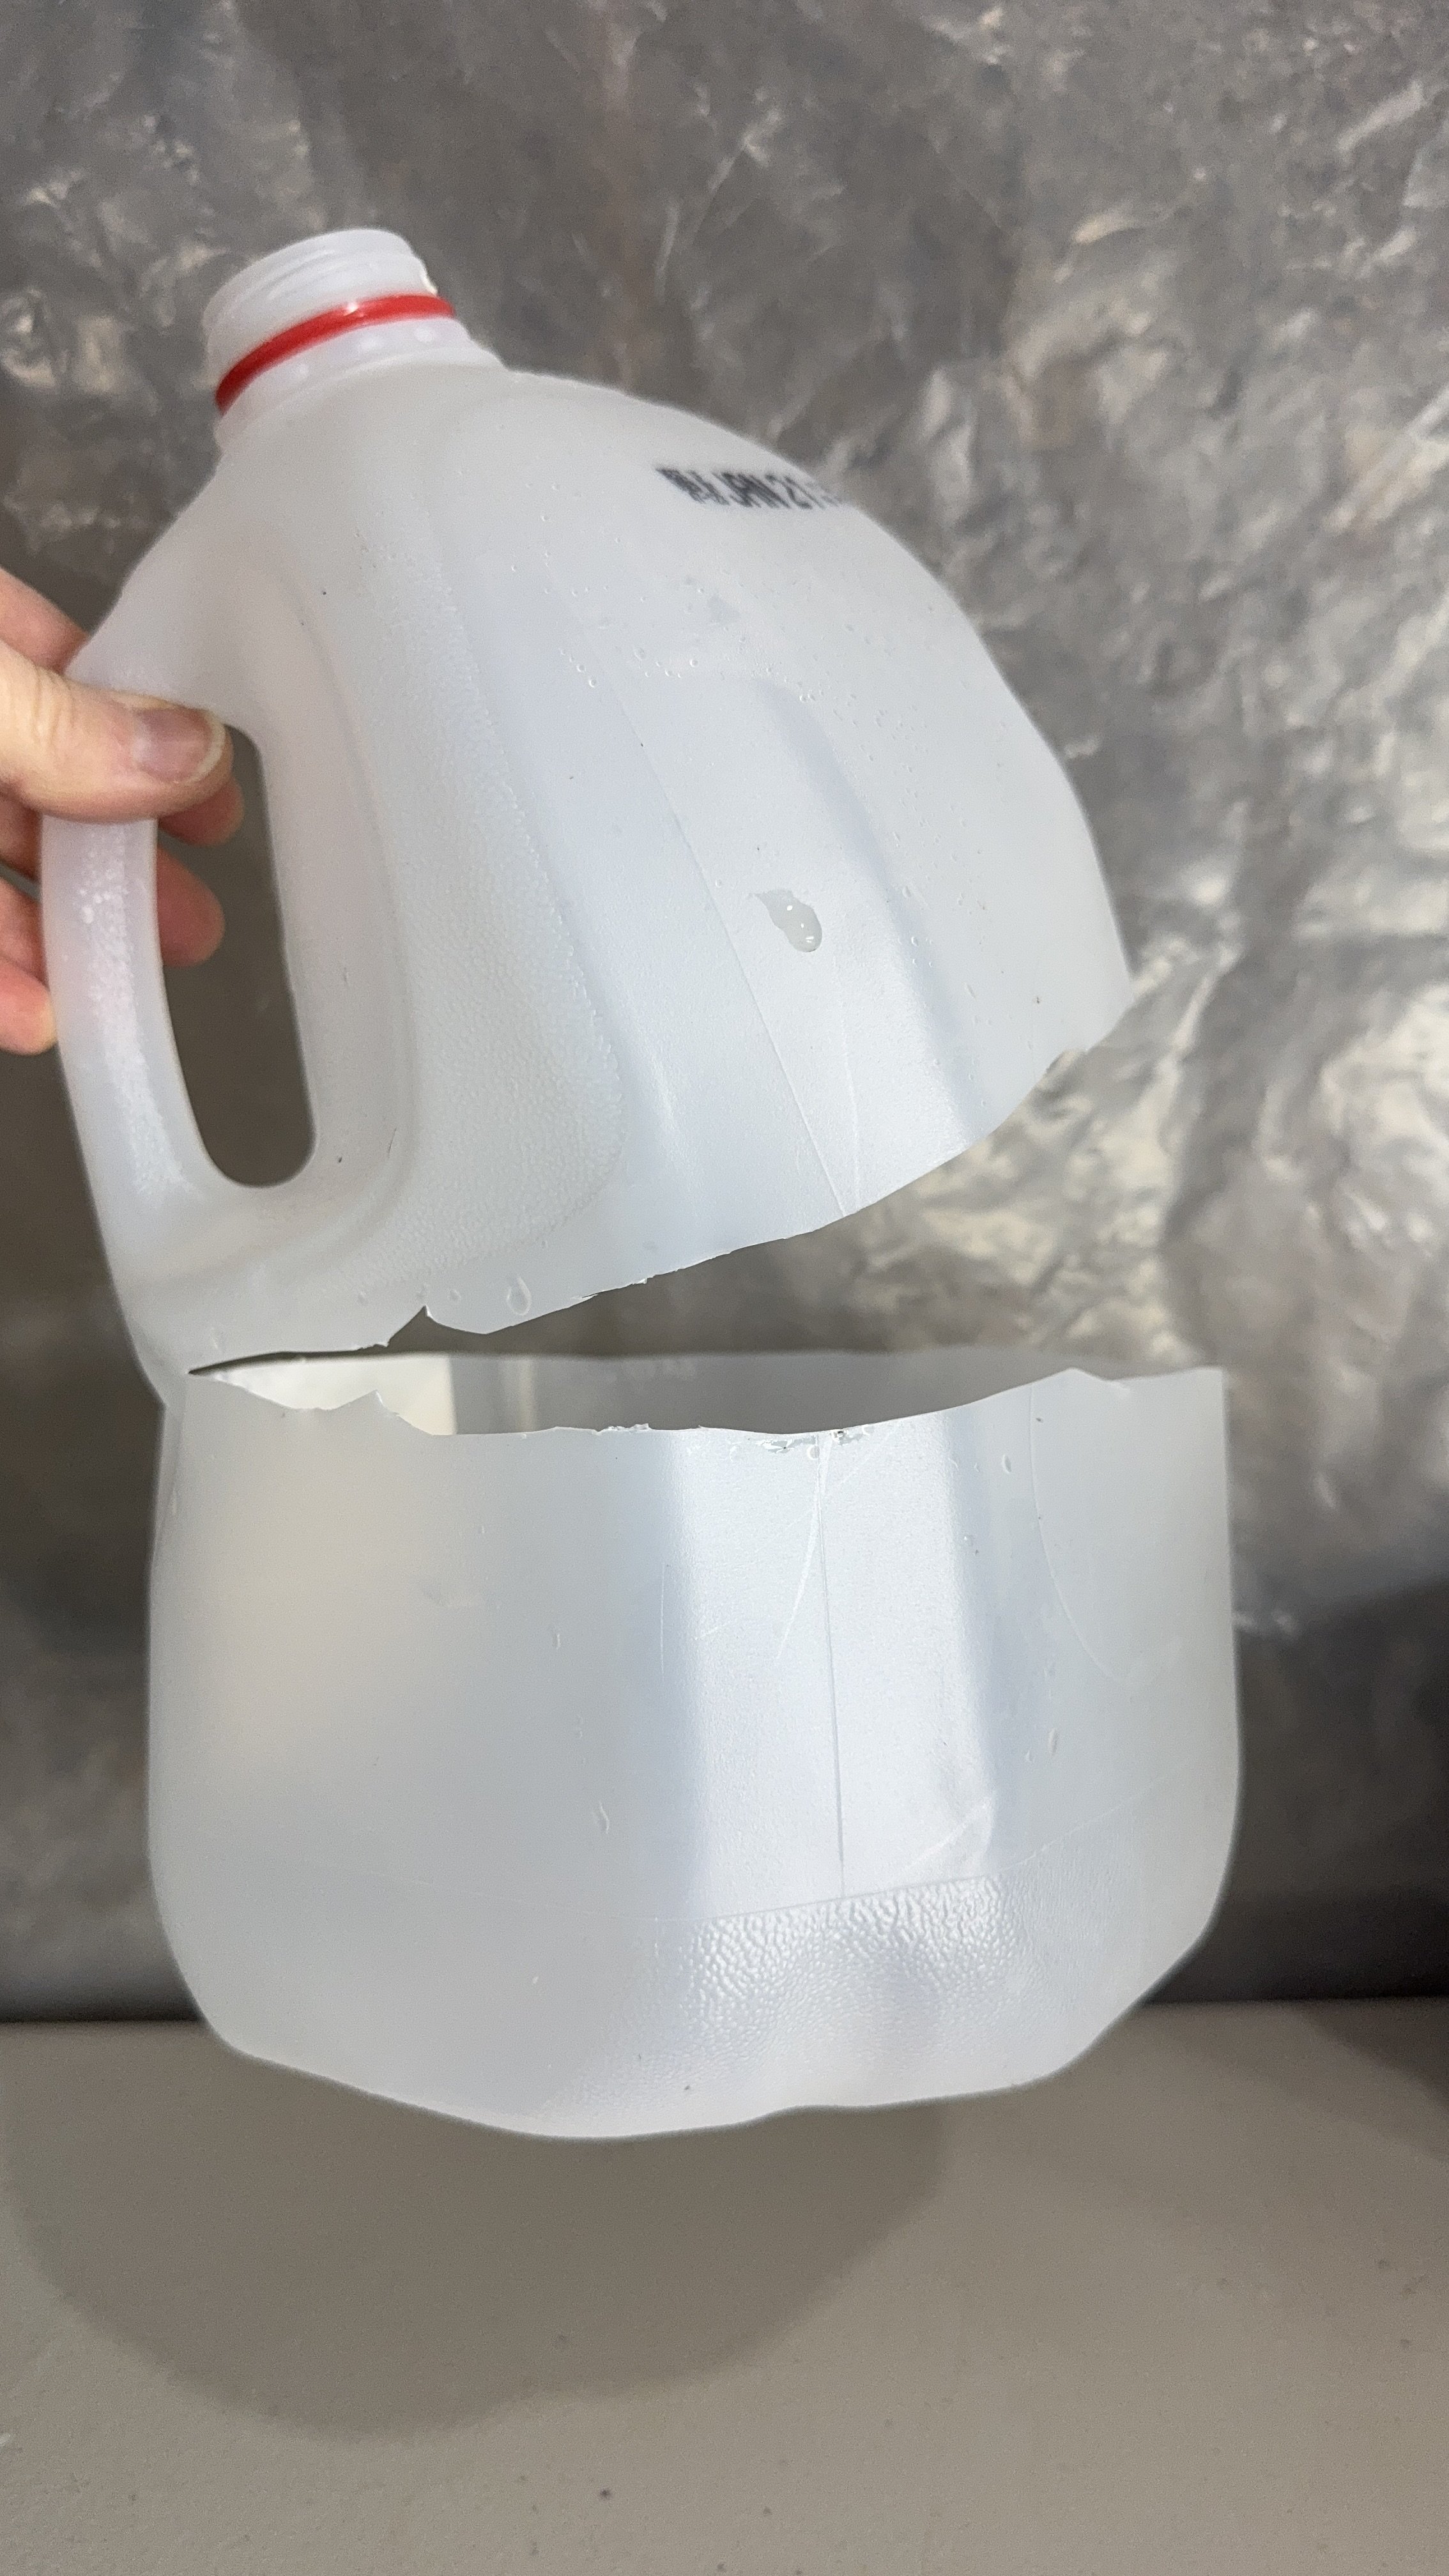
Gather Your Containers: You are aiming to create tiny greenhouses, so milk jugs, clear plastic bins, salad clamshells, or any sturdy see-through container will do. Cut them open (but leave a hinge) and poke holes in the bottom for drainage.
Label Your Containers: Trust me: writing with sharpie on the outside of your milk jug will wash off and all your seedlings will be mystery plants. Use waterproof labels and a fade-resistant marker and place them inside the container where they’ll stay protected. Or make a diagram or take a video or somehow document what you planted in each container. This step ensures you’ll know exactly what’s sprouting come spring!
Plant Your Seeds: Add damp potting soil to the bottom, sprinkle in your seeds, then cover with soil at the depth indicated on the seed packet. Gently water the soil to settle seeds in and check that your container is draining.
Seal and Set Outside: Tape the container shut and place it in a sunny spot. Leave the lid or cap open for ventilation. Now, just let the winter weather do its thing!


When to Start?
January and February are great months to start in the Nashville area. The beauty of winter sowing is its flexibility—trust the process, and nature will guide you. It’s all a bit of an experiment and uncertain depending on each year’s weather!

How to Tend Your Winter Sown Seeds
Winter sowing is a low-maintenance method, but a little care goes a long way to ensure your seeds thrive. Here’s what you need to do:
1. Check for Moisture
While winter typically provides plenty of moisture through snow and rain, there may be dry spells. Check your containers occasionally to ensure the soil stays moist. If it looks dry, water gently through the ventilation holes or carefully open the container to add water. Just be sure not to overwater—moist, not soggy, is the goal.
2. Monitor Growth
As spring approaches and temperatures begin to rise, keep an eye on your containers. You’ll start to see tiny green shoots emerging! Once seedlings appear, they’ll need more attention, especially on warmer days. Make sure they’re not drying out or overheating.
Transplanting Your Seedlings
Once your seedlings are big and strong enough and the risk of frost has passed, it’s time to move them to their permanent garden spots. Here’s how to handle the transition:
1. Harden Off the Seedlings
Even though they’ve been outside, they still need to acclimate to direct sun, wind, and fluctuating temperatures. Start by opening the containers during the day for a few hours and gradually increase the time over a week. This step helps prevent transplant shock.
2. Prepare the Garden Beds
Ensure your garden beds are ready with nutrient-rich soil. Loosen the soil and add compost and organic fertilizer if necessary to give your seedlings the best start.
3. Transplant Carefully
Unlike the seedlings from the commercial nursery which are grown in their own individual cells, winter-sown seedlings are grown together in one larger container and therefore require a more careful move from their “cradle” to their big-girl garden bed. Gently remove the seedlings from their containers, taking care not to damage the roots as you untangle them. Plant them at the same depth they were growing in the container, spacing them according to the plant's needs.
4. Water and Watch
Water the transplants thoroughly to help them settle in. Keep moisture levels even in the beds until the seedlings get established. Continue to tend as you would any other garden plant.
5. Record Your Results
Keeps notes in your garden journal about the process, including what dates you sowed and varieties you tried. What worked best? Compare the health of these plants to any purchased at the garden center or sowed directly into the soil. Make a note about any methods you want to repeat or change next year.
Embrace the Process
Winter sowing isn’t just about growing plants; it’s about embracing the season’s slow, patient rhythm. With each frost and thaw, your seeds are preparing for a lush, vibrant spring, and all you have to do is observe.
So, gather your containers, seeds, and soil, and give winter sowing a try. You get a head start on your garden, and you’ll enjoy a deeper connection to the natural world along the way. Happy sowing! 🌱